
 |
| Shuttle Expedition - 10231 |
It's really a fun set, although I was a little shocked at all of the Technic elements that make up the piece count. There were so many little pins, axles, and other little bits that it sometimes was kind of a pain sorting through it all to find something. I understand the necessity of it of course. Many of the finer details of the design would be impossible without them being used. This is the first Creator set I've put together, so I'm going to assume this is pretty common in a lot of the larger sets that are out there now.
I'm not trying to be critical of Technic pieces. It's just not something I'm accustomed to yet as being very common in sets. I don't remember them being as big of an inclusion in the sets I built while growing up.
 |
| We have ignition! |
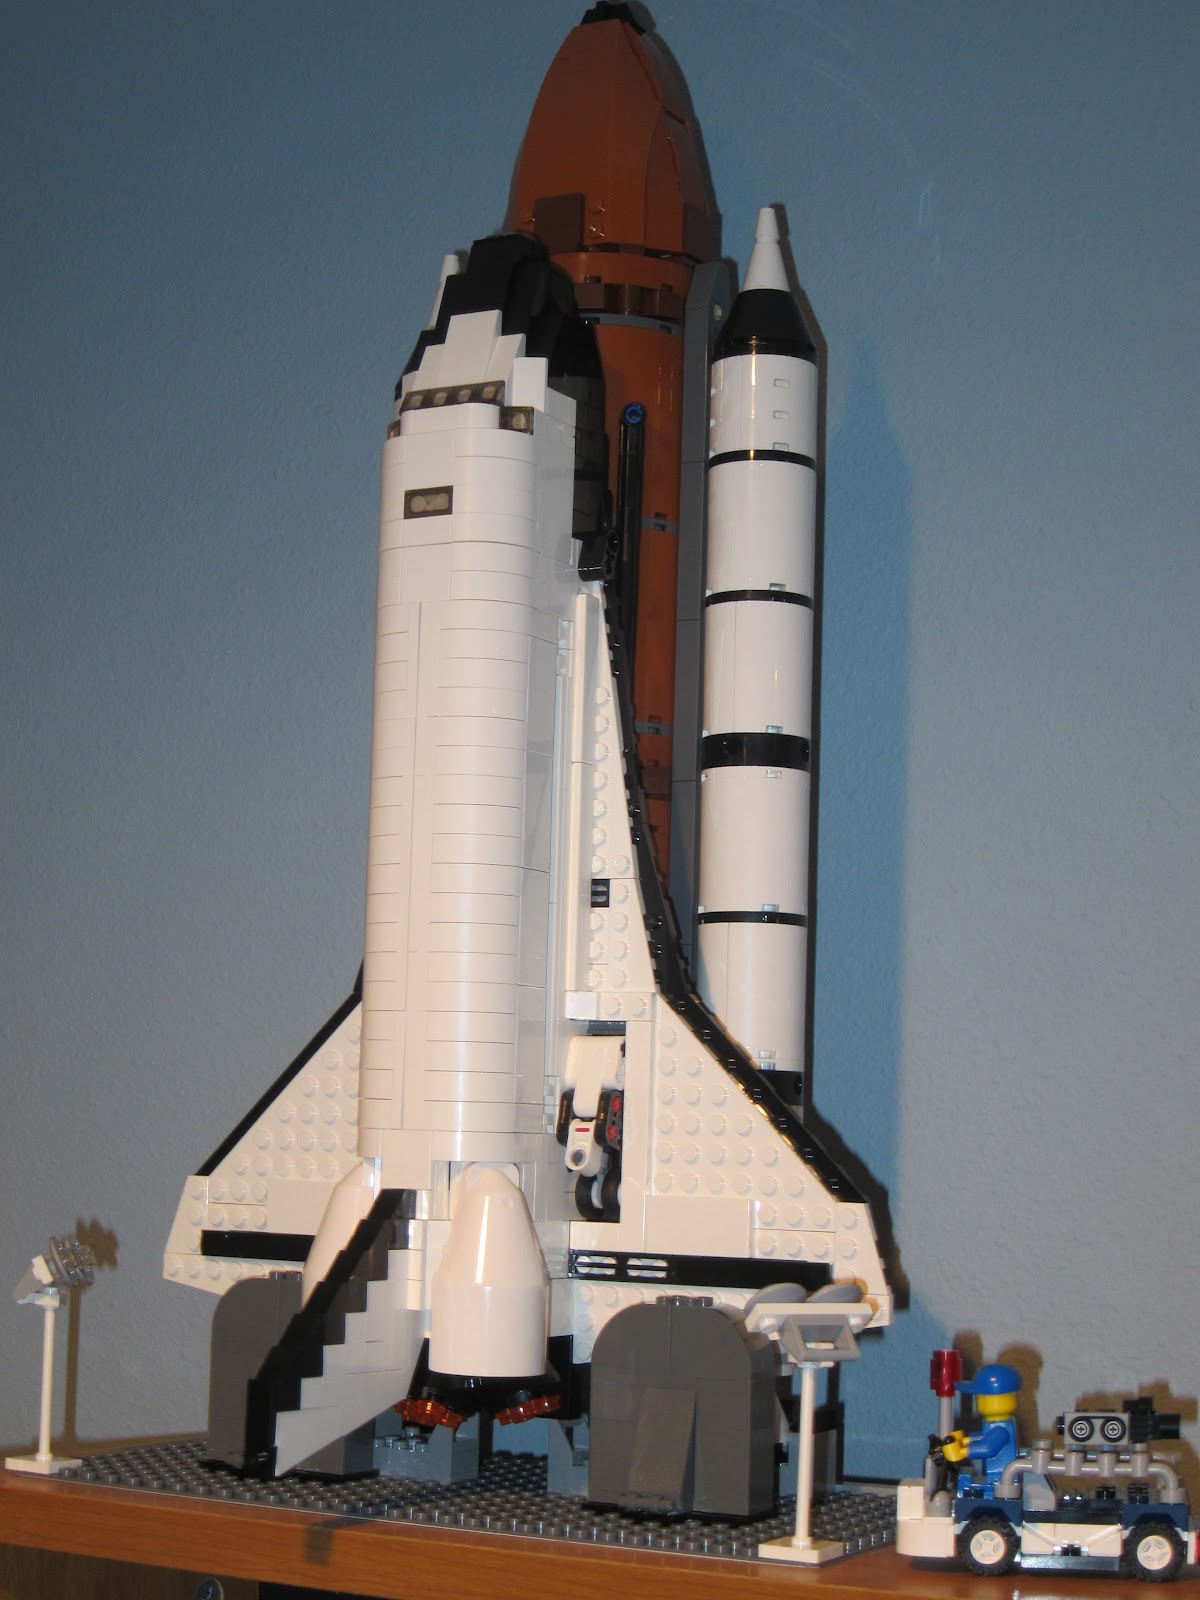
In that photo, you can see one of the design aspects I do no like about the set. The rear landing gear poke up through the wings on each side, which is necessary to deploy and retract them, but it just looks a little bit ugly in my opinion to have those gaping holes just sitting there. The front gear uses a little tab to control them, so I'm not sure why something similar could not have been worked out for the rear set.

This is one of those build techniques that I found really cool. While the large shell pieces that make the tank and booster round are kind of boring, I understand the need for them to cut down on weight/piece count. This cool little detail though is so much cooler than just shoving two pieces together at the top like a clam shell.

I have to wonder whey the designers didn't just use curved pieces similar to what's used for the boosters instead. I might have to experiment a little with that to see if it's possible. There's probably a stability issue I'm overlooking.
Overall, the set was quite a bit of fun. I stretched the build over about four nights. I probably could have done it in three if I had sorted the pieces a little better from the start. I wasted a lot of time looking for some random 1x1 plate or random technic pin on several occasions. I certainly learned a lesson on that front and realize I need to prepare better the next time I build a set without numbered bags.
Next up is the Imperial Flagship I've had sitting on the shelf for the past month. I'll probably end up spending the entire first evening sorting the pieces for that one. There are so many bags filled with tiny bits.
No comments:
Post a Comment